1.Fixed the bug where PIN was missing an if judgment condition(thanks to 'Zuosir').
2.Fix the PWM parameter detection error (Thanks to '决浮云').
MR frame
- MR frame
- Brief introduction
- Key characteristic
- Major component
- Standardized device interface
- Configuration tool
- Directory structure
- Device/Component Support Overview
- Get Started
- Let`s Light an LED
- Hello World
- Now that you have completed the introductory tutorial, start using the MR Library.
Brief introduction
The MR framework is a lightweight framework designed specifically for embedded systems. It fully considers the
resource and performance requirements of embedded systems.
By providing standardized device management interfaces, it greatly simplifies the development of embedded applications and helps developers quickly build embedded applications.
The framework provides developers with standardized open, close, ioctl, read, write and other
interfaces. It decouples the applications from the low-level hardware drivers. The applications do not need to know the
implementation details of the drivers.
When the hardware changes, the applications can seamlessly migrate to the new hardware by only adapting the low-level drivers. This greatly improves the reusability of software and its extensibility to new hardware.

Key characteristic
- Standardized device access interfaces
- Decoupled application and driver development
- Simplified lower-level driver and application development
- Lightweight and easy to use with low resource usage
- Modular design with loose coupling between components for independent development and extremely low hardware migration costs
- Supported in bare-metal and operating system environments
Major component
- Device framework: Provides standardized device access interfaces
- Memory management: Dynamic memory management
- Tools: Common data structures like lists, queues, balanced trees etc.
- Various functional components
Standardized device interface
All operations of the device can be implemented through the following interfaces:
| interface | describe |
|---|---|
| mr_dev_register | Registered device |
| mr_dev_open | Open device |
| mr_dev_close | Close device |
| mr_dev_ioctl | Control device |
| mr_dev_read | Read data from the device |
| mr_dev_write | Writes data to the device |
Example:
int main(void)
{
    /* Open SPI10 device under SPI1 bus line */
    int ds = mr_dev_open("spi1/spi10", MR_O_RDWR);

    /* Send data */
    uint8_t wr_buf[] = {0x01, 0x02, 0x03, 0x04};
    mr_dev_write(ds, wr_buf, sizeof(wr_buf));

    /* Receive data */
    uint8_t rd_buf[4] = {0};
    mr_dev_read(ds, rd_buf, sizeof(rd_buf));

    /* Close device */
    mr_dev_close(ds);
}
Thanks to the standardized device interface, all devices automatically support the msh device command,
and all device operations can be completed through the command line.


Configuration tool
MR provides Kconfig visual configuration tool that developers can configure without deep knowledge of the source
code.
Kconfig will automatically generate the configuration options interface based on the configuration file. Developers
can select the functional components that need to be enabled and set relevant parameters through simple operations.


By modifying parameters, you can quickly tailor the required functions. After the configuration is complete,
the Python script automatically generates the configuration file.
Directory structure
| name | describe |
|---|---|
| bsp | Board support package |
| components | Components |
| device | Device file |
| document | Document |
| driver | Driver file |
| include | Library header file |
| source | Library source file |
| Kconfig | Configuration files |
| LICENSE | Open-source license |
| kconfig.py | Automatic configuration script |
| tool.py | Automatic build script |
Device/Component Support Overview
| Device/Component | Plan | Preview | Stable | Document |
|---|---|---|---|---|
ADC |
[√] | [√] | ||
CAN |
[√] | |||
DAC |
[√] | [√] | ||
I2C |
[√] | [√] | ||
Soft-I2C |
[√] | [√] | ||
Pin |
[√] | [√] | ||
PWM |
[√] | [√] | ||
Serial |
[√] | [√] | ||
SPI |
[√] | [√] | ||
Timer |
[√] | [√] | ||
msh |
[√] | [√] | ||
LCD |
[√] | |||
Senser |
[√] |
Get Started
Verifying Python environment
Verify that the Python environment is installed. Run python --version on the command line to check the Python
version (the MR scripting tool relies on Python, install it yourself if there is no Python environment,
Versions later than 3.11.7 are not supported).
Import the project into the workspace
-
Download the latest version source code from the
GiteeorGitHubrepository to the local. -
Copy the source code to the directory where your project is located. Take the
MDKproject (CubeMX-generated standard project) as an example: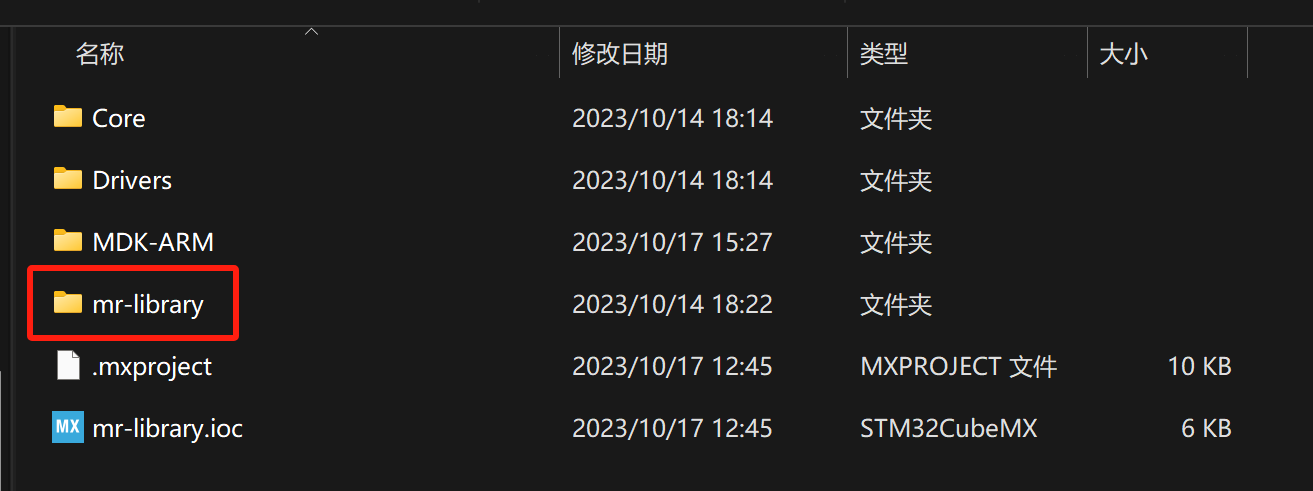
-
Copy the driver of the corresponding chip in the
bspdirectory todriver(Please read the documentation inbspcarefully):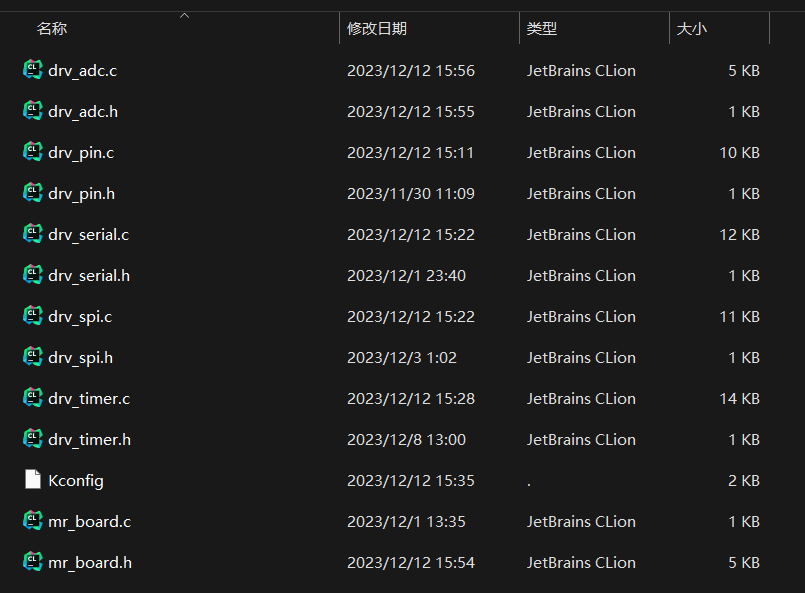
-
Remove unnecessary files
bsp,documentdirectories (you can also remove.gitfiles if you don't needgit). When complete, the directory structure looks like this: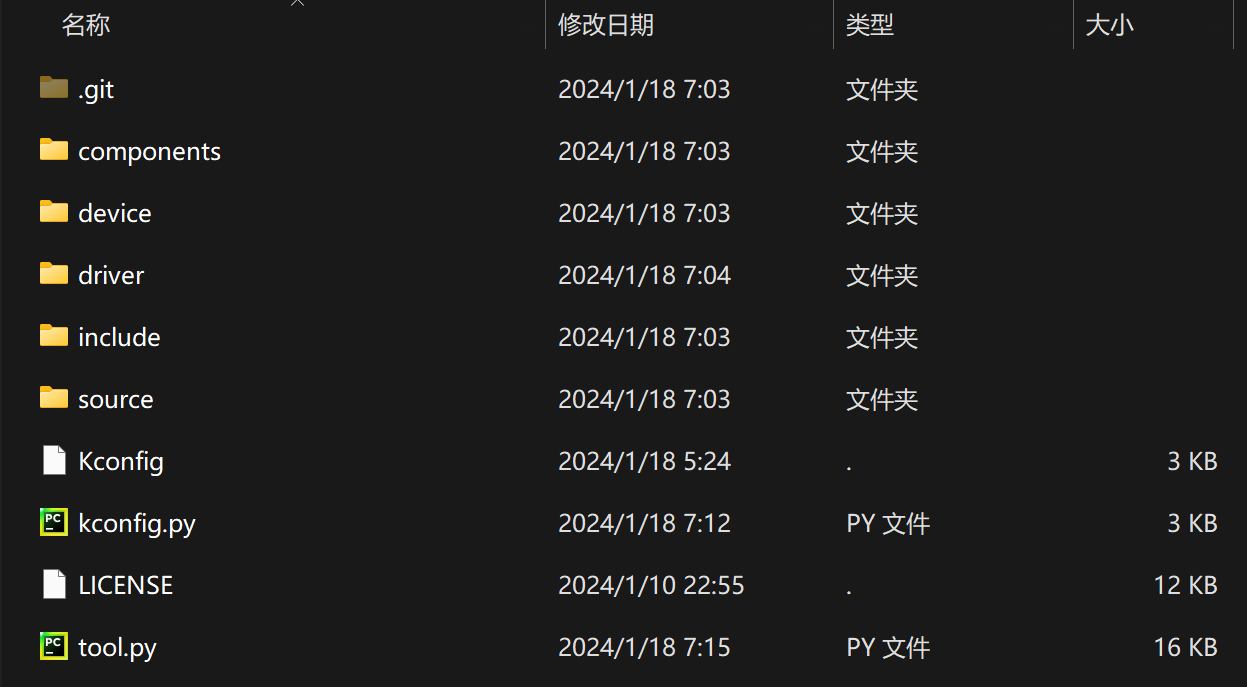
-
Use the automatic build script to complete the automatic build. In the
mr-librarypath, open the command line tool and runpython tool.py -bTake
MDKas an example: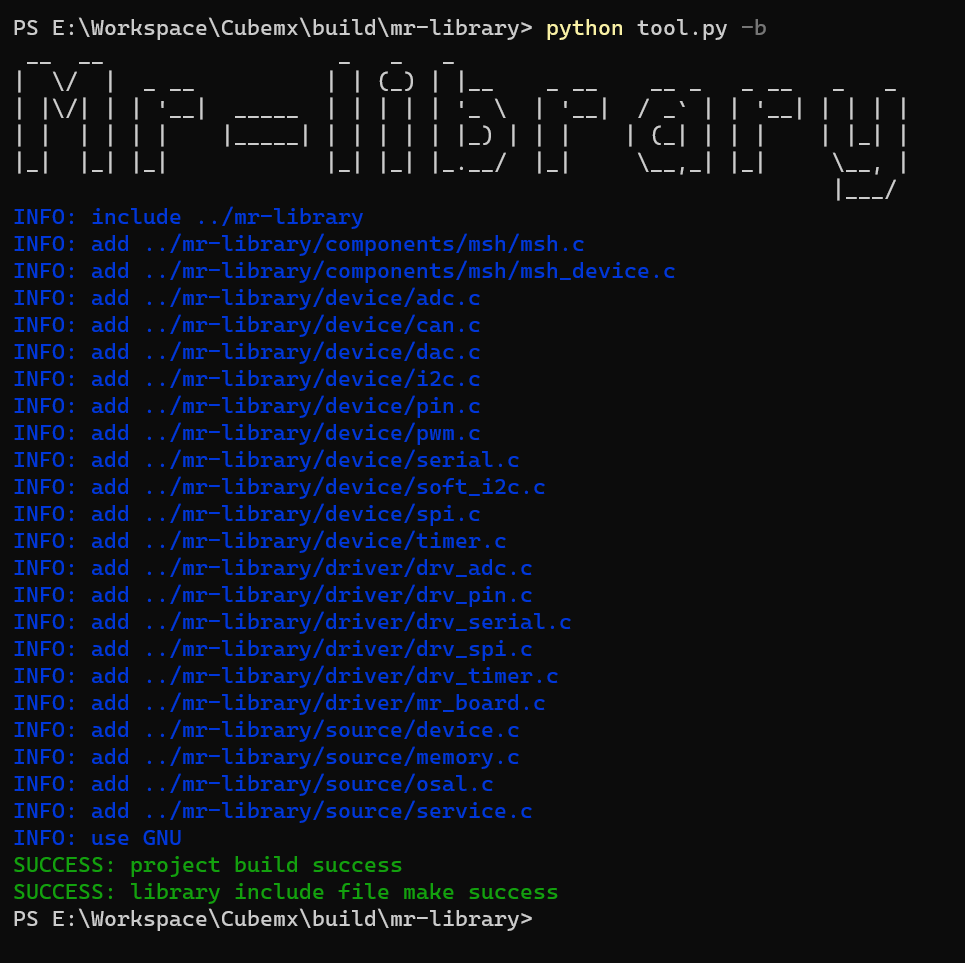
Note:
- Supports
MDK5andEclipse. MDKuncompiled or too low a version can cause the 'GNU' configuration to fail.
- Supports


Configure Menu Options
-
Open the command line tool in the
mr-librarydirectory and runpython tool.py -mfor menu configuration.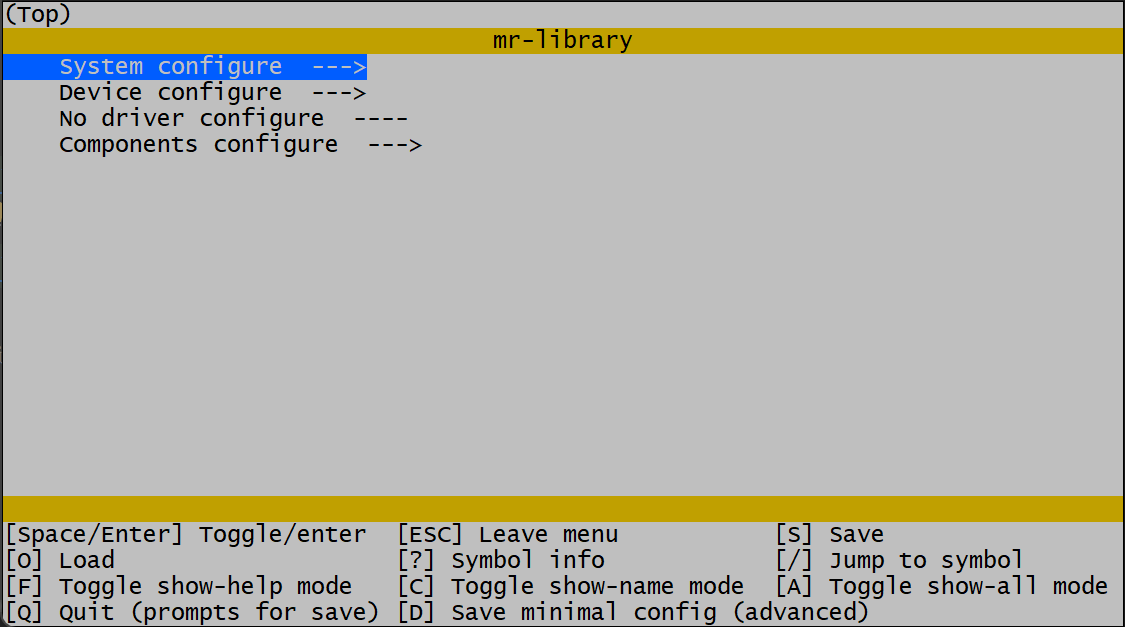
Run failed:
- Check the
Pythonversion (versions above3.11.7are not currently supported, reinstall and remove the installed modules). - Command line tools are not supported, recommended to use
powershell(win10 and above),git bash(newer version)and so on.
- Check the
-
Enter the menu by pressing the Enter key on
Device configure, and configure the desired functions according to needs.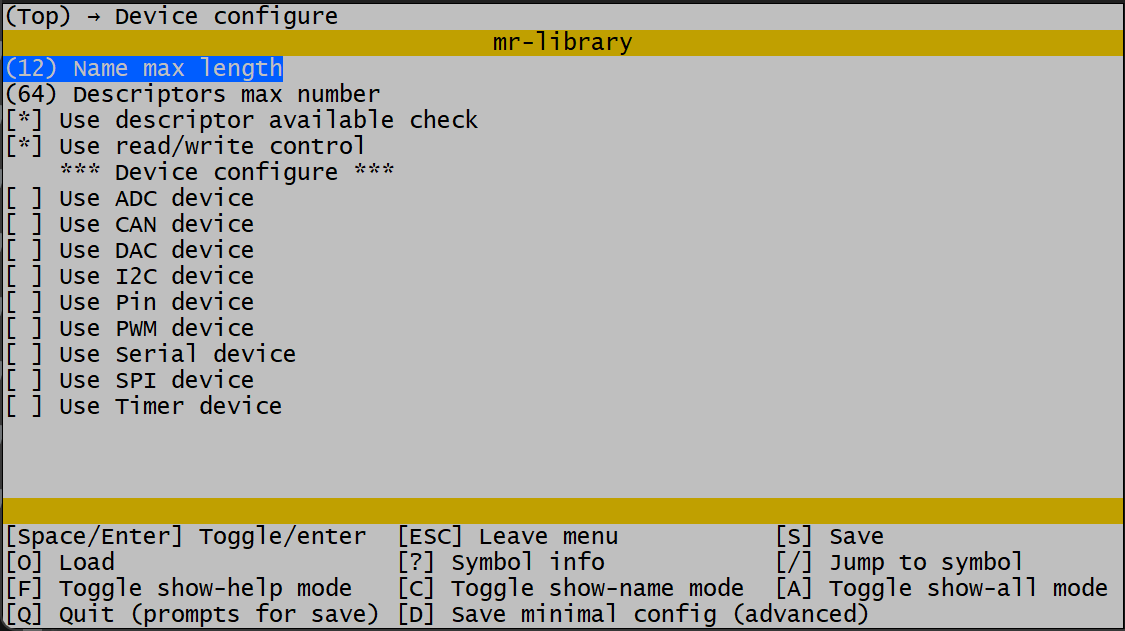
-
After configuration is complete, press
Qto exit the menu configuration interface, pressYto save the configuration.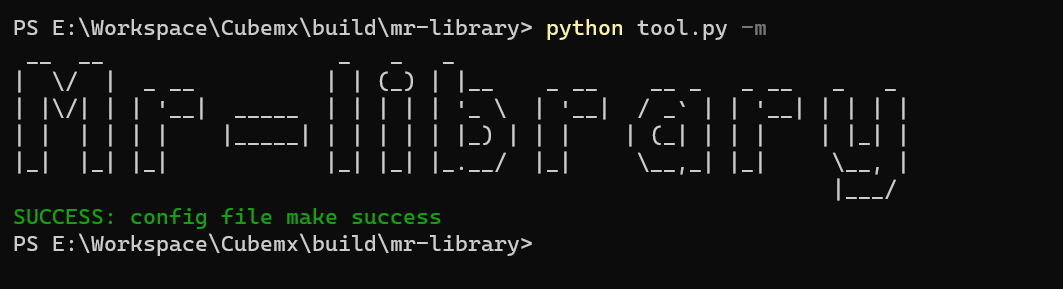
-
In the project, introduce
#include include/mr_lib.hand addmr_auto_init()tomainfunction; Automatically initialize the function and start using it.

Note: More commands can be entered: python tool.py -h to view.
Let`s Light an LED
#include "include/mr_lib.h"

/* Define the LED pin-number (PC13) */
#define LED_PIN_NUMBER                  45

int main(void)
{
    /* Automatic initialization */
    mr_auto_init();

    /* Open the PIN device */
    int ds = mr_dev_open("pin", MR_O_WRONLY);
    /* Set to the LED pin */
    mr_dev_ioctl(ds, MR_IOC_PIN_SET_NUMBER, MR_MAKE_LOCAL(int, LED_PIN_NUMBER));
    /* Set the LED pin to push-pull output mode */
    mr_dev_ioctl(ds, MR_IOC_PIN_SET_MODE, MR_MAKE_LOCAL(int, MR_PIN_MODE_OUTPUT));

    while(1)
    {
        /* Light up the LED */
        mr_dev_write(ds, MR_MAKE_LOCAL(uint8_t, 1), sizeof(uint8_t));
        mr_delay_ms(500);
        mr_dev_write(ds, MR_MAKE_LOCAL(uint8_t, 0), sizeof(uint8_t));
        mr_delay_ms(500);
    }
}
Hello World
#include "include/mr_lib.h"

int main(void)
{
    /* Automatic initialization */
    mr_auto_init();

    /* Open the Serial-1 device */
    int ds = mr_dev_open("serial1", MR_O_RDWR);
    /* Output Hello World */
    mr_dev_write(ds, "Hello World\r\n", sizeof("Hello World\r\n"));

    while(1);
}
Now that you have completed the introductory tutorial, start using the MR Library.
- See more tutorials.
- Try developing drivers based on certain chips to practice device driver programming.
- Try writing more device templates and developing more features.
- Welcome to provide your opinions and suggestions. If you are interested in development, you are welcome to
participate in the development of the
MRproject. The project discussion group is: 199915649(QQ).